Simulating Data Connections with Placeholder APIs
Kinetic Data provides the flexibility to allow development throughout design, by enabling you to set up a simulated data source. Here’s what that means, the elements you’ll need, why it’s important, and how to do this.
Project teams have seen it plenty of times before — the developers are ready to build, but the database administrators don’t have the data sources ready. It doesn’t matter what the reason is or who is responsible, what matters is that precious project time is being lost.
With the Kinetic Platform, these roadblocks are a thing of the past. Even when you aren’t hosting your data on our platform, you can easily create local data sources, simulate a connection to them with our bridge models, and later transform those models to point to your true data source.
This setup ensures you can continue on your projects, and once your data sources are ready, you can easily repoint your bridge models to the new source. This makes certain no changes are required in your forms or bundle.
The Foundation
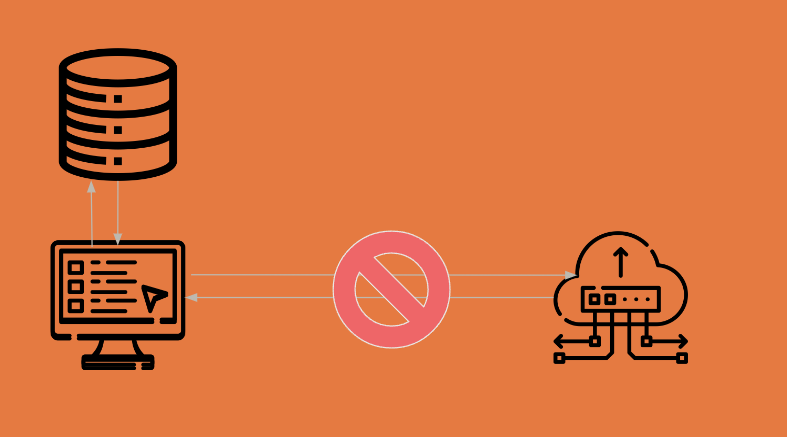
To begin simulating data connections, you’ll need three main components:
- A Data Source: This acts as the mock remote data store, simulating the external database or source you intend to connect to eventually.
- A Model: This connects your data source and local form, transforming and routing data between the two.
- A Local Form: This form leverages the simulated data from your mock data source, allowing for a practical interface to interact with the data.
Setting Up Your Mock Data Source
Creating a mock data source starts with having a clear structure in mind that mirrors the expected results from your target API or database. Utilizing the Kinetic Platform, you can easily set up a form that represents your data source.
Remember to note important details such as the application (or Kapp – a Kinetic application) and form slug, as these will be crucial in later steps.
Bridging the Gap with a Model
Once your data source form is ready, the next step is to create a model within the Kinetic Platform. This model acts as the bridge, linking your mock data source to your local form. It’s important to select the appropriate bridge (in this case, Kinetic Platform) and accurately define the structure, including the Kapp and slug of your form.
Attributes and qualifications within the model allow for detailed customization, ensuring that your mock data behaves as closely as possible to the real thing. It also allows you to utilize those resources in your bundle and elsewhere, because the attribute name will not change when you switch your model to your actual data source later.
Crafting the Local Form
With your remote data store and model in place, the final piece of the puzzle is the local form. This form will directly interact with the mock data, displaying and manipulating it as if it were coming from the actual external source.
Through the use of bridged resources and qualifications, you can filter and display data based on specific parameters, such as a buyer’s name in a sales application.
Bringing It All Together
By carefully setting up your data source, model, and local form, you’ve successfully simulated a data connection. This allows for real-time interaction with mock data, enabling development and testing to proceed without delays.
Whether you’re waiting for access to an external platform or simply need a flexible environment for testing, simulating data connections can significantly enhance your development process.
Simulating data connections is a powerful technique that every developer should have in their toolkit. It not only accelerates the development process but also fosters a deeper understanding of how data interacts within your applications.
Following the steps outlined above, you can set up your own simulated data connections, ensuring that your development journey is as efficient and productive as possible.
This helpful video provides a complete walk-through of simulating data connections.
Simulating Data Connections with Placeholder APIs from Kinetic Data on Vimeo.
VIDEO TRANSCRIPTION:
[0:06 – 1:47] When working on storing and retrieving data between platforms, you may not always have access to your target platform right away. In order to save time and still make progress while waiting, you can mock up data connections in Kinetic to simulate what the connection will look like. To do this, we’ll need a few simple things.
A data source, which will mimic the remote data store. We’ll need a local form that will leverage to load data from the remote source, and we’ll need a model to connect the two and transform our data. First, we’ll create a remote data source.
I have a mockup of results from an API call that we’re going to shape it to match. So, go into your Kapp, I’m using services, go into your forms, and you’ll select “new form.” I’ve already created one, but you can create it yourself, design it however you’d like.
Inside this form, you will need to note a couple of things. One, the Kapp you’re in, so for me it’s services, and two, the slug of the form. For me, it’s “api-order-details.”
Write that down somewhere, we’re going to need it later. Now, let’s create our model. Go to space, models, new model.
Again, I’ve already created one, but I’ll show you how I set it up. Inside, you’re going to name it, you’re going to select a bridge, we’re going to use “Kinetic Platform”, because we’re going to be looping back to ourself. And then for the structure, this is where you need that information.
Submissions, whatever Kapp you used, and your slug. Please note, it is case sensitive. Next, we’re going to move down to attributes.
This is going to have a prompt here. If you generate missing attributes, it will add all of the fields that you put into the form in the previous step. So, these are the four fields that I had on my form.
[1:48 – 1:57] That’s perfect. Next, we’ll go to qualifications. This is how we’re going to filter through our data.
So, you’ll have nothing. I’ve added two. The “all”, which is result type “multiple.”
[1:57 – 2:21] You don’t need to put anything in the query. That will bring back all results with no parameter. Another one I put in is “by buyer.”
So, if I want to bring back results based on the buyer, it would be a single result type. That can be single or multiple. And then you’ll use the query.
Here, I did q for query equals values buyer is equal to the parameters buyer. This one is what I’m handing in. This needs to match whatever is in your attributes section.
[2:22 – 4:47] So, now, if I go down to test, I can select all results, and I can have all, which is my first qualification, which would bring back all of my results. Or, I can do based on buyer, where the parameter buyer will be “Travis.” If I test this, I will get just one result back where the buyer is me.
Now that we have remote data store and model mocked up, we’ll need to create the local form to pull the data in. So, if you want to go back to the Kapp of your choice, I’m in services again. You’re going to do new form.
I, again, already have a form ready. You’ll name it, and we’ll go into the builder. So, inside of the builder, you’re going to need to put in your text fields where you want the data to come in, and you’re going to need a parameter field if you’re using a filter.
So, let’s start at the top. We’re going to go form settings, bridged resources. We’re going to add a bridged resource.
So, I’m going to name it, and I’m going to choose the model from the drop-down. So, this was the one I created earlier. Qualifications, I’m going to use “by buyer” because I want to filter on the buyer, and then I’m going to map that value.
So, you can do dollar sign and auto-complete values. I’m going to map it to buyer name, which you can see is in my form on page one. So, what that means is what I put in to buyer name will be passed through this model.
I’ll hit save. Then, I can see down here I have buyer notes. So, this is where I actually want data to come back.
So, I’m going to go to it and use the default value. We’re going to do “default value” bridged resource as our bridge, and then inside, dollar again, enter to auto-complete, resources. I’m going to take details back.
So, you see these are the four fields that are on my remote data. I could pull back any of them that I want, but I want to choose details. So, with all this done, I can hit save now.
If I go and hit preview, it will pull up my form, buyer name. I will put in the buyer name of Travis. I’ll go to the next page.
You can see these were the notes that I had. If I go back and I type a buyer name of Kristen, you will see we get her notes. That concludes this brief tutorial.
Know that you can expand on these concepts in more unique ways, as well as leveraging code in your bundle to retrieve the results. See you next time.